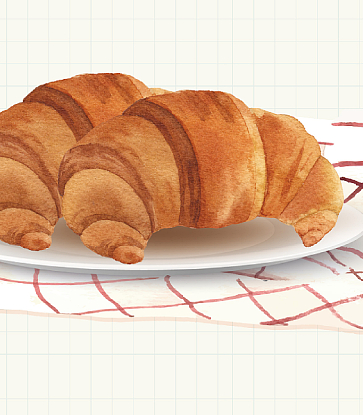
Unless they’re softer varieties like brioche, traditional European breads have a harder crust and a drier, saltier crumb while Asian style buns are soft, springy and sweet. Think multigrain sourdough loaves versus kaya buns or slices of rye bread versus hotdog rolls.
The key difference lies in the dough’s chemistry: “Western-style bread has zero fat – its main [components] are flour, salt and water,” says Daniel Tay, founder of Old Seng Choon – the modern revival of his parents' confectionery which operated from 1965 to 1996. “Asian-style bread is high in fat and sugar – about 15 per cent ft and 25 per cent sugar. These two work together to give the soft texture.”

Indeed, it was only in recent years with the profusion of gourmet bakeries like Artisan Boulangerie Co and Baker & Cook that Western-style bread took centre stage. Otherwise, the bakeries that churn out soft buns still prevail and are found in just about every turn. This softer variant of bread has been the dominant preference for local tastes, so much so that even top end restaurants like two-Michelin-starred Odette take it into consideration when composing the bread basket.
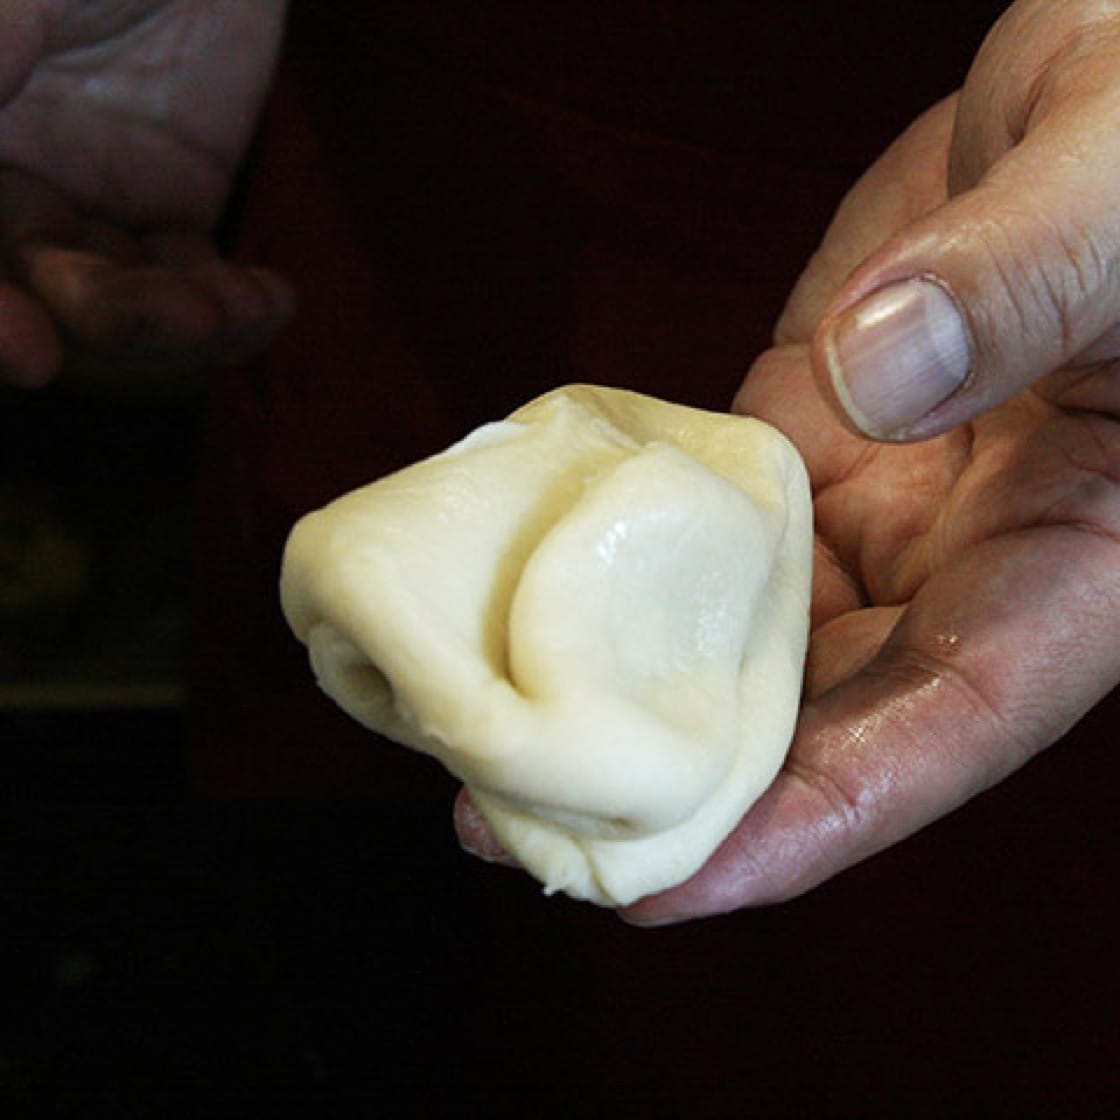
But the difference doesn’t end at just fat and sugar content. Asian-style breads are also made by adding a Japanese-invented dough called tangzhong.
“The Japanese realised that by cooking the flour, the dough absorbs all the water. This cooked dough is added into the rest of the bread mixture which gives a moister mouthfeel,” says Tay.
The precise roots of this method are unclear, but the Japanese preference for soft, sweet breads can likely be traced back to 1875 when a former samurai named Yasube Kimura invented the anpan – a soft bun stuffed with bean paste that’s otherwise used for wagashi. He found that the bread introduced to Japan was either salty or sour – flavours which were out of step with the Japanese palate.
Tay has kindly provided his recipe for those who wish to make these soft buns at home. This forms the basic recipe sweet bun recipe from which modifications can be made. Bear in mind that sour dough can be omitted and to use strong bread flour of 12.5 per cent protein for both the main as well as tangzhong dough for better gluten development.
Tangzhong Dough
100g strong bread flour (12.5 per cent protein)
100ml water
Sweet Bun Dough
1kg strong bread flour (12.5 per cent protein)
18g yeast
18g bread improver
240g sugar
30g milk powder
14g salt
2 eggs (50g each)
35ml condensed milk
450ml water
180g unsalted butter
100g tangzhong dough
100g sourdough (optional)

Bring 100ml of water to a boil in a pan and add 100 grams of strong bread flour. Stir quickly and remove from fire to prevent the dough from over cooking.

Continue knead the dough with a spoon or by hand if cool enough until dough is formed. This step is crucial as adding a warm dough into the rest of the bread dough will alter the temperature.

Place flour, yeast, bread improver, sugar, milk powder and salt into a mixing bowl and stir until well-mixed. Then add in the eggs, condensed milk and water and start the mixer with a dough hook.

Add the tangzhong dough first and continue to knead. At this stage, the dough would've developed gluten. Next, add the unsalted butter and knead until dough starts to make slapping sounds against the mixing bowl.

Cover the bowl with clean wrap film or a cloth and allow the dough to ferment for approximately one hour. Place the bowl in a cupboard or space away from heat and moving air.

Shape the dough into round balls and insert your choice of filling if any. Place the dough balls into small paper holders similar to the ones for cupcakes.

Proof the dough again in the cupboard away from heat and moving air and let it rise until it is 2 ½ times its normal size. To see if it's ready, poke it gently with your finger and the dent made should only return half way up. As the dough proofs, pre-heat the oven to 200 degrees celcius.
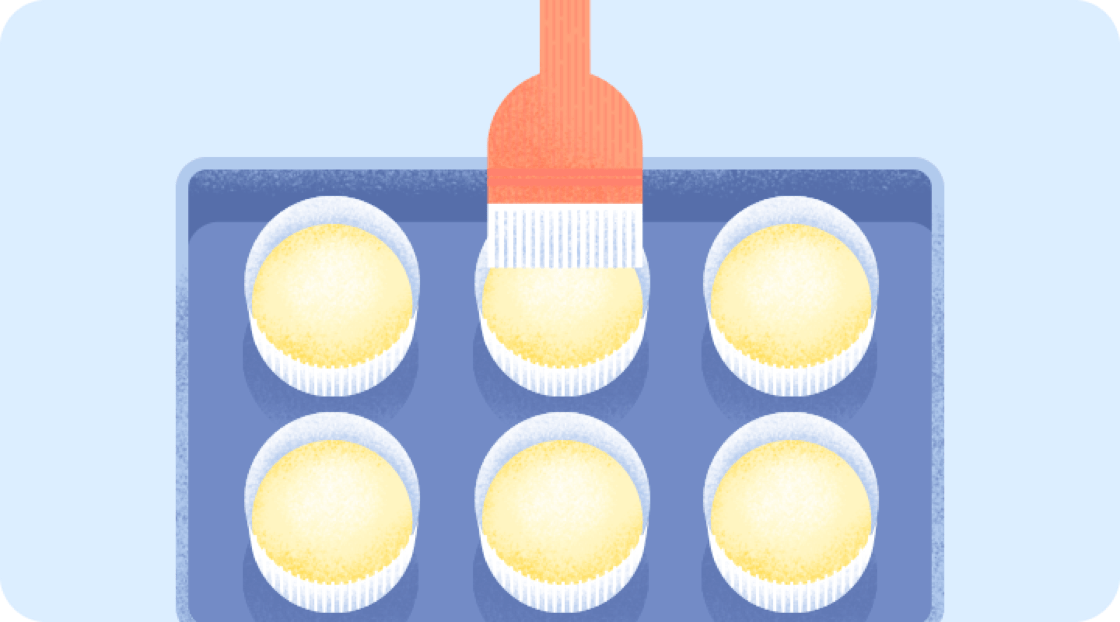
Beat one egg and lightly brush over the top of the bun. This gives the bun a sheen when baked. Be sure to avoid the sides or drips.

Bake for 18 minutes or until golden brown. Remove and allow to cool. Enjoy.
Recommended reading: View more stories from our Technique Thursdays series here.


