All around the world, different cultures have practiced the colouring of eggs during Easter. In Orthodox and Eastern Catholic Churches, Easter eggs are dyed red, while people in Russia and Israel traditionally dye their eggs in onion skins. In Greece, a red Easter egg is baked into a braided loaf of tsoureki, while in Germany, delicately painted eggs are hung in trees called Osterierbaum.
Although we peel the eggs before eating them, the semi-permeable nature of egg shells means that some of the dyes are absorbed by the egg. Artificial food dyes contain chemicals that might trigger sensitivities in some people, especially children.
Natural food dyes can be easily derived from fruit, vegetables and other pantry staples with a bit of vinegar to help the dye adhere to the eggs. Though not as vibrant as commercial food dyes, natural dyes colour Easter eggs in a subtle, rustic way — charming and perfectly safe to eat. The dyes can be made ahead and stored in the refrigerator for a few days till they’re ready for use.
Try your hand at making natural food dyes with the recipe below and then exercise your creativity with these five, easy ideas to decorate your Easter eggs:
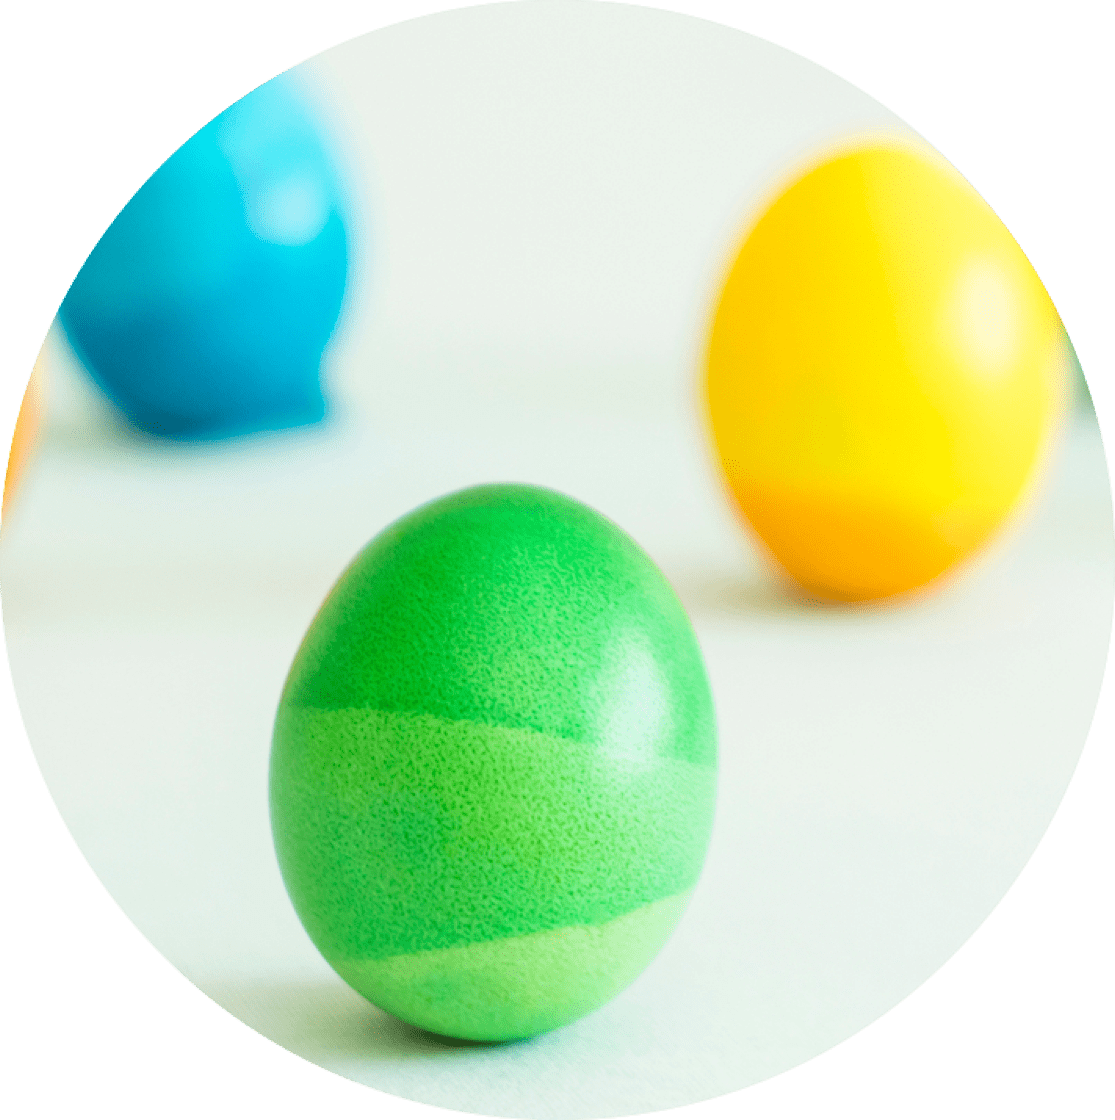
The secret to these trendy-looking eggs is a plastic bottle cap and simply letting different sections of the egg soak for shorter periods of time. Place the egg upright on the bottle cap in a glass, pour in the natural dye till the egg is a third submerged and refrigerate overnight. Then, pour in more dye till the egg is two thirds submerged and refrigerate for a few hours. Fully submerge the whole egg for an hour or leave the tops of the eggs white for an ombre look.

2. Whipped Cream Marbling
This method is messy and fun for the kids and makes magical unicorn swirls on white eggs. Using whipped cream rather than the traditional method of shaving cream makes Easter eggs that are perfectly safe and edible as well. Fill a casserole or baking dish with whipped cream and drip the natural dye liberally over the whipped cream, keeping space between the different colours. Use two or three colours at any one time to prevent the muddying of colours.

Washi tape comes in all sorts of wonderful colours and designs. Once you’ve dyed your eggs using the recipe below, you can easily decorate them with strips and cut-out patterns of washi tape. Otherwise, adhere strips and cut-outs of washi tape on to un-dyed eggs, then soak them in dye. Dry the dyed eggs and peel off the washi tape to uncover cool designs.

You’ll need a white non-toxic wax crayon for this simple technique. Draw simple motifs on the eggs with white crayon, then soak them in natural dye overnight. The areas covered with crayon wax will resist the dye and leave patterns on the eggs.

For this, you’ll need to look into your refrigerator for herbs like parsley, coriander and dill, or take a walk in the park to gather little flowers, leaves and fern tips. Cut a clean pair of stockings into smaller segments that can fit an egg. Place leaves and flowers on each uncooked egg, then wrap tightly in a segment of stockings. Pull the stockings tightly over the egg and tie off the ends with a bit of string or thread. Place the stocking-covered raw eggs in a pot of natural dye and bring to a boil, then simmer for 15 to 20 minutes. Once the eggs are cool, cut open the stocking, remove the leaves and dab dry with a paper towel. Buff with a little oil for a nice shine.
Dyes 6 eggs
6 hard-boiled eggs (preferably white eggs)
2 cups of water
2 Tbsp white vinegar
Dye materials:
1 cup yellow onion skins: Turns white eggs orange and brown eggs brick red.
2 Tbsp ground turmeric: Turmeric turns out mustard yellow eggs.
1 cup chopped purple cabbage: Surprisingly, this dye turns white eggs blue and brown eggs green.
1 cup blueberries: Dye made from blueberries colour eggs a deep indigo.
4 cups spinach leaves: This is the faintest dye and turns white eggs a subtle pale green.
1 cup shredded beets: Dye made from shredded beets turns pink on white eggs and maroon on brown eggs.
Method:
1. In a pot, bring the water and chosen dye material to a boil, then cover the pot and simmer for 15-60 minutes till a deep hue is achieved.
2. Let cool to room temperature, then strain and reserve the coloured liquid.
3. Add the vinegar into the liquid.
4. In a bowl or jar, cover the hard-boiled eggs in the dye liquid and refrigerate overnight till desired colour is achieved.
5. Pat dry with paper towels or leave on a cooling rack to air-dry. Buff with a little oil for a nice shine.


