Share

Lockdown left many of us with time on our hands: some turned to fitness, some to hobbies, some to box sets – and many of us rolled up our sleeves and put on our chefs’ hats. From seasoned professionals to amateur home cooks or simply getting messy with the kids, there is one thing that has united us in our kitchens: baking, in all its glorious forms.
We asked one of our Michelin Inspectors for their favourite lockdown recipe for sourdough…

Bread is a staple of almost every meal out – and I have been lucky enough to have eaten some truly wonderful bread in restaurants spanning the globe.
Much like the rest of us, when I found myself with a surplus of time on my hands, I looked for something simple but satisfying to turn my hand to – and what could be better than a recipe that needs only flour, water and salt, using a technique that has been around for over 5,000 years?
Being constantly on the road, I have to admit that I don’t have as much time to bake as I’d like to, but when a friend in my village offered me his surplus sourdough starter, I felt the calling. A year in and out of lockdown has given me plenty of time to refine my technique and, after a few mishaps (mostly involving over-proving during warmer weather), I am now happily baking loaves of consistent quality.
Here’s my favourite recipe for two firm and hearty loaves:
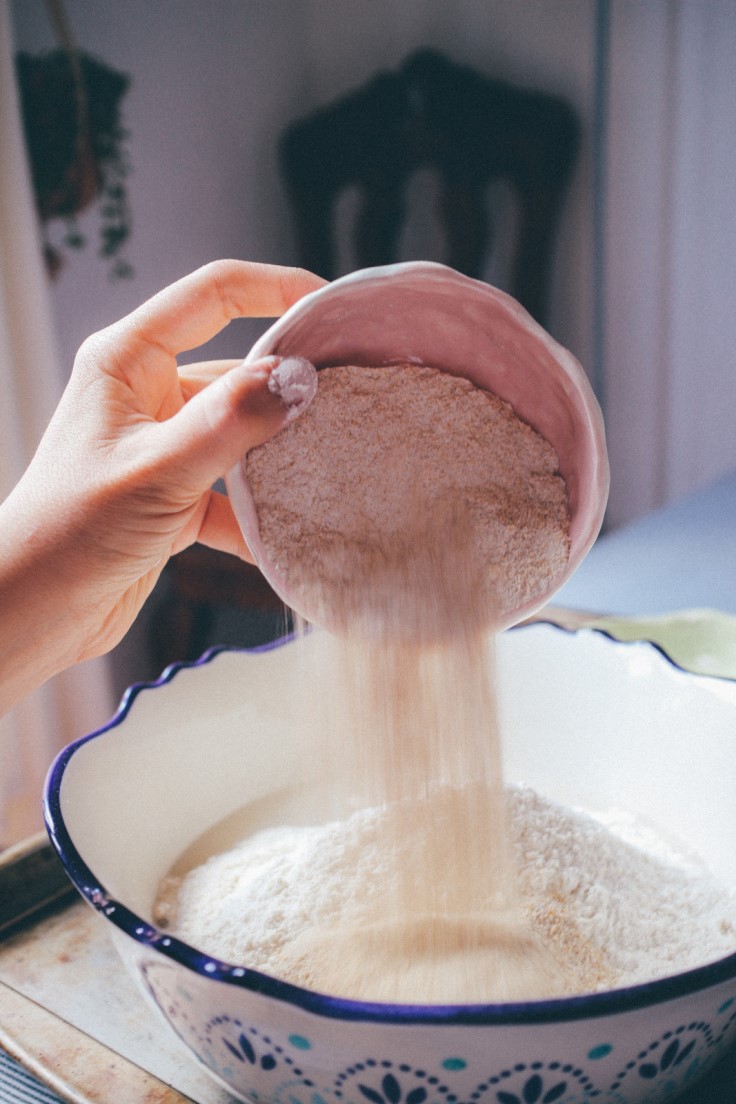
Mix together:
- 400g strong white flour
- 400g wholemeal or malted flour
(I use ‘Cotswold Crunch’ made by Matthews, an 8th generation flour mill in Shipton-under-Wychwood. It blends strong white flour, malted wheat flakes and malt flour to deliver a flavoursome, malty aroma with
added texture)
- 320g sourdough starter
- 15g salt
(I use Cornish sea salt, dissolved in the water to aid uniform distribution)
- Finally, add 460ml tepid water
Once the mixture comes together, tip out onto a clean kitchen surface.
Tip: A dough scraper and a cutter are useful tools and well worth investing in.
Knead for at least 10mins until the ‘windowpane’ effect is reached – this is achieved when you have smooth, elastic dough that stretches without tearing or breaking.
Tip: Resist adding more flour during this stage unless really necessary.
Put back in the bowl, dust with flour and cover with a damp cloth. Leave to prove at room temperature for about 4-4½ hours, during which time the dough should double in size.
Empty onto a clean surface and knock the dough back by kneading and forcing the air out. Then cut and shape into two tight, silky balls and transfer into either proving baskets or a glass bowl lined with a tea towel; ensure the dough is well dusted with flour, otherwise it tends to stick. Cover and put in the fridge to prove overnight (a long, slow prove in a fridge tends to develop a stronger flavour and ensures that the dough doesn’t over-prove).
First thing the following morning, heat the oven to 230°C (210°C for a fan oven) and place a tray in the bottom. Once the oven has reached temperature, fill the tray with boiling water – you now have an effective steam oven.
Carefully turn your loaf out onto a tray or baking stone and with a sharp knife, slash the surface of the dough; this is what is known as the baker’s signature. The dough can be cut up to ½ cm deep and this aids the loaf in rising.
Tip: I bake the bread on a large pizza stone which ensures good all-round heat.
Cook for 30-35 minutes or until the loaf is golden and sounds hollow when tapped underneath.
Leave to cool on a wire rack and enjoy!
Starter
Having been given a starter, this saved me a little work, but if you wish to make your own, this is how: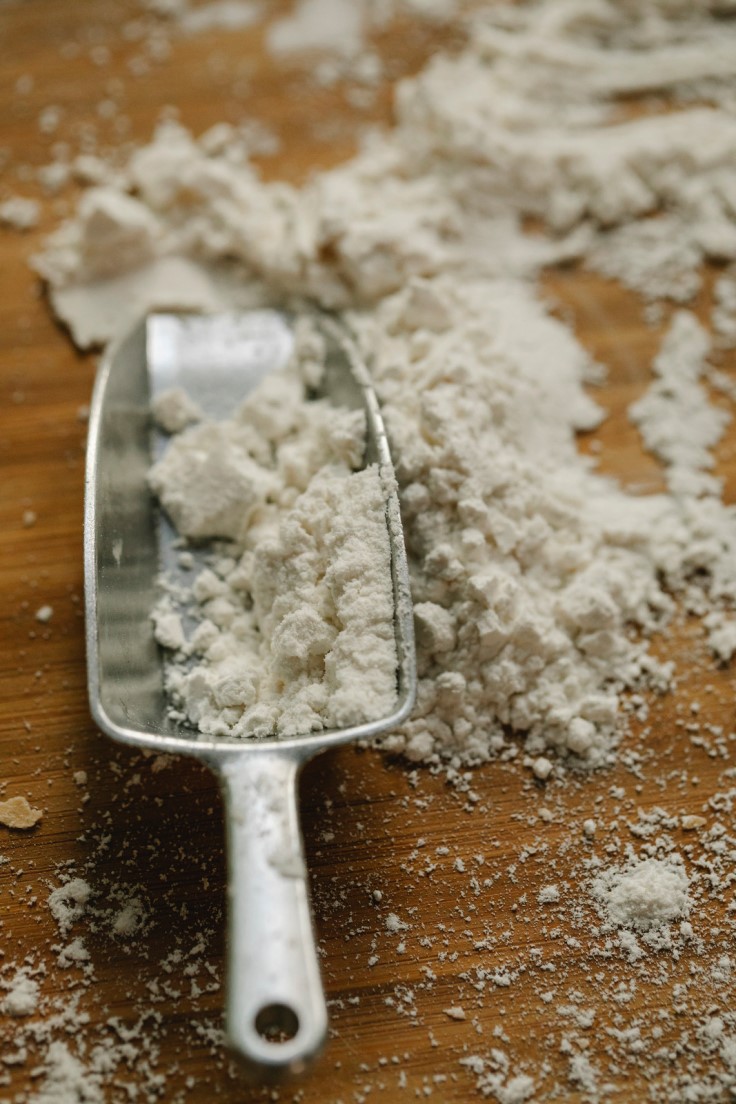
Day 1
Add 50g of wholemeal flour to 50g of water in a clean bowl, cover and leave overnight
Day 2
Add 50g of wholemeal flour to 50g of water and add to your developing starter
Day 3
Throw away 100g of your starter and add 100g of wholemeal flour and 100g of water
Day 4
Throw away 150g and add 100g of wholemeal flour and 100g of water
The starter should be starting to bubble and smell faintly acidic
Day 5
Throw away 200g and add 150g of wholemeal flour and 150g of water
The starter should be getting quite active now
Day 6
Throw away 250g and add 200g of wholemeal flour and 200g of water
The starter should be active with plenty of bubbles and smelling slightly sour/vinegary
Day 7
The starter should be ready to use
Remember when using your starter that you must always refresh it afterwards, by adding the same weight of wholemeal flour and water as the weight of the remaining starter (I tend to keep about 150g, which I refresh with 150g of flour and 150g of water).
It will keep in the fridge for about a week; take it out the day before you intend to bake and refresh it (if you do not bake regularly, ensure you refresh it at least on a weekly basis).
Happy baking!