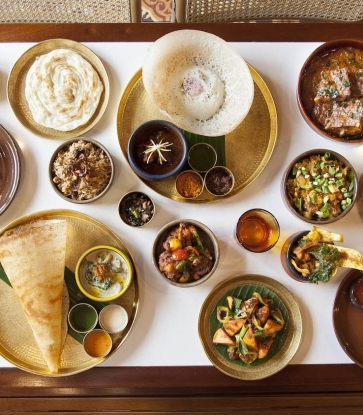
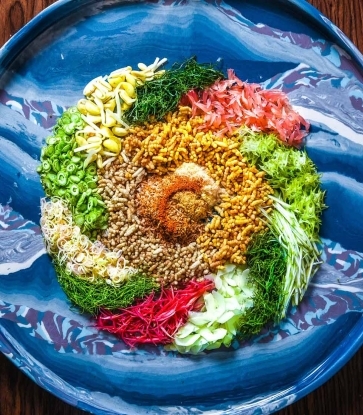
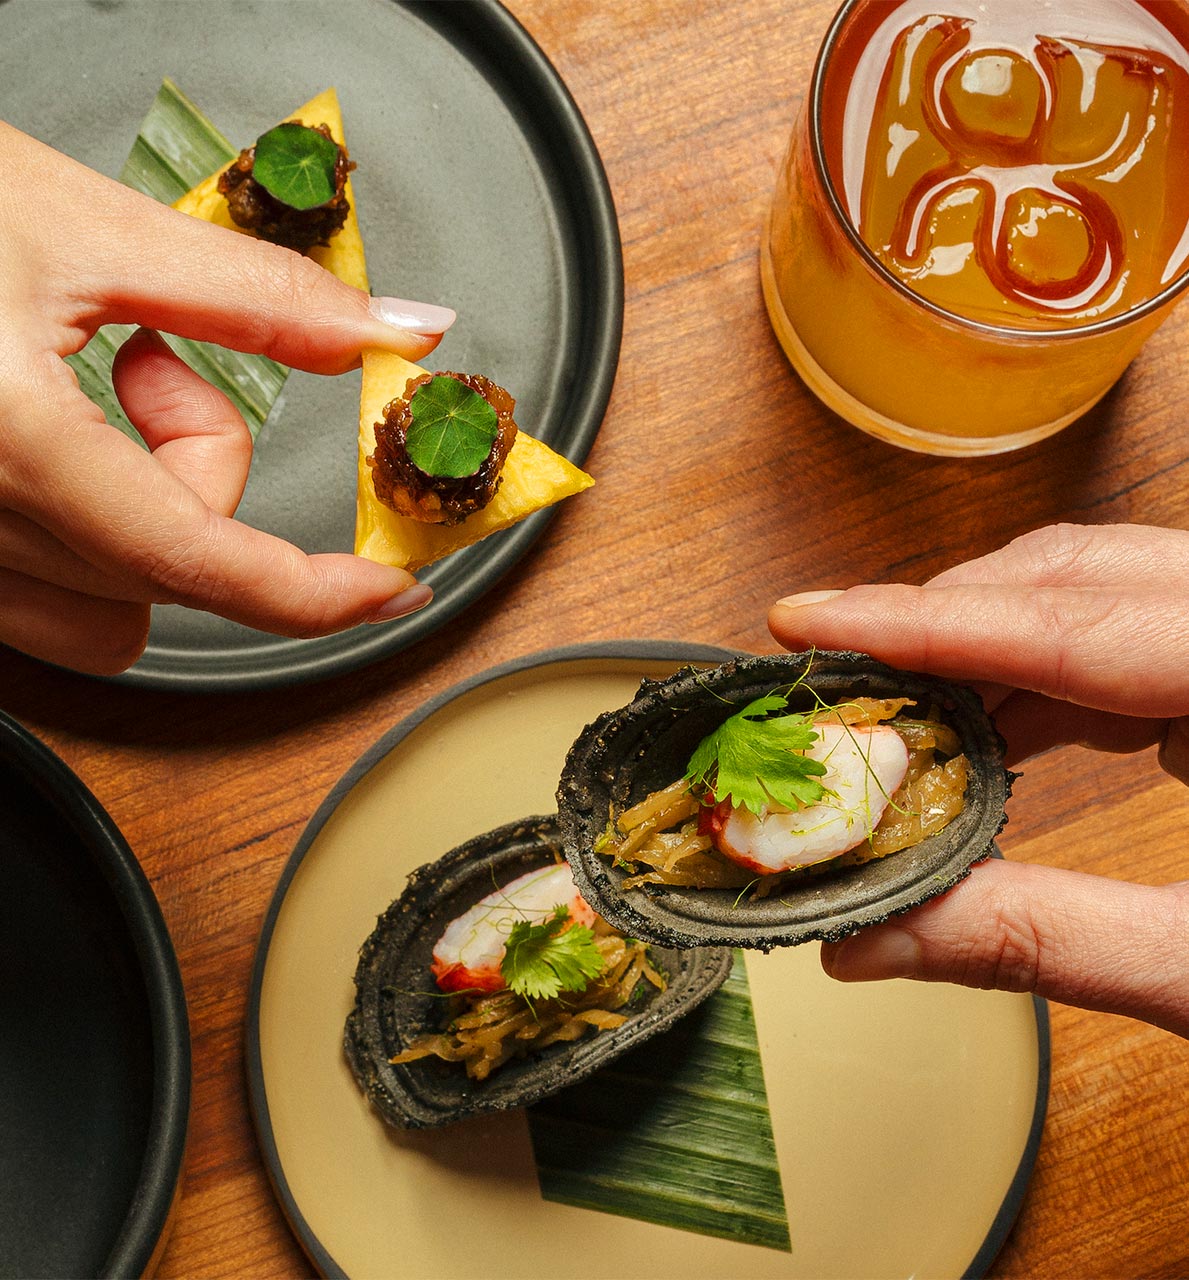
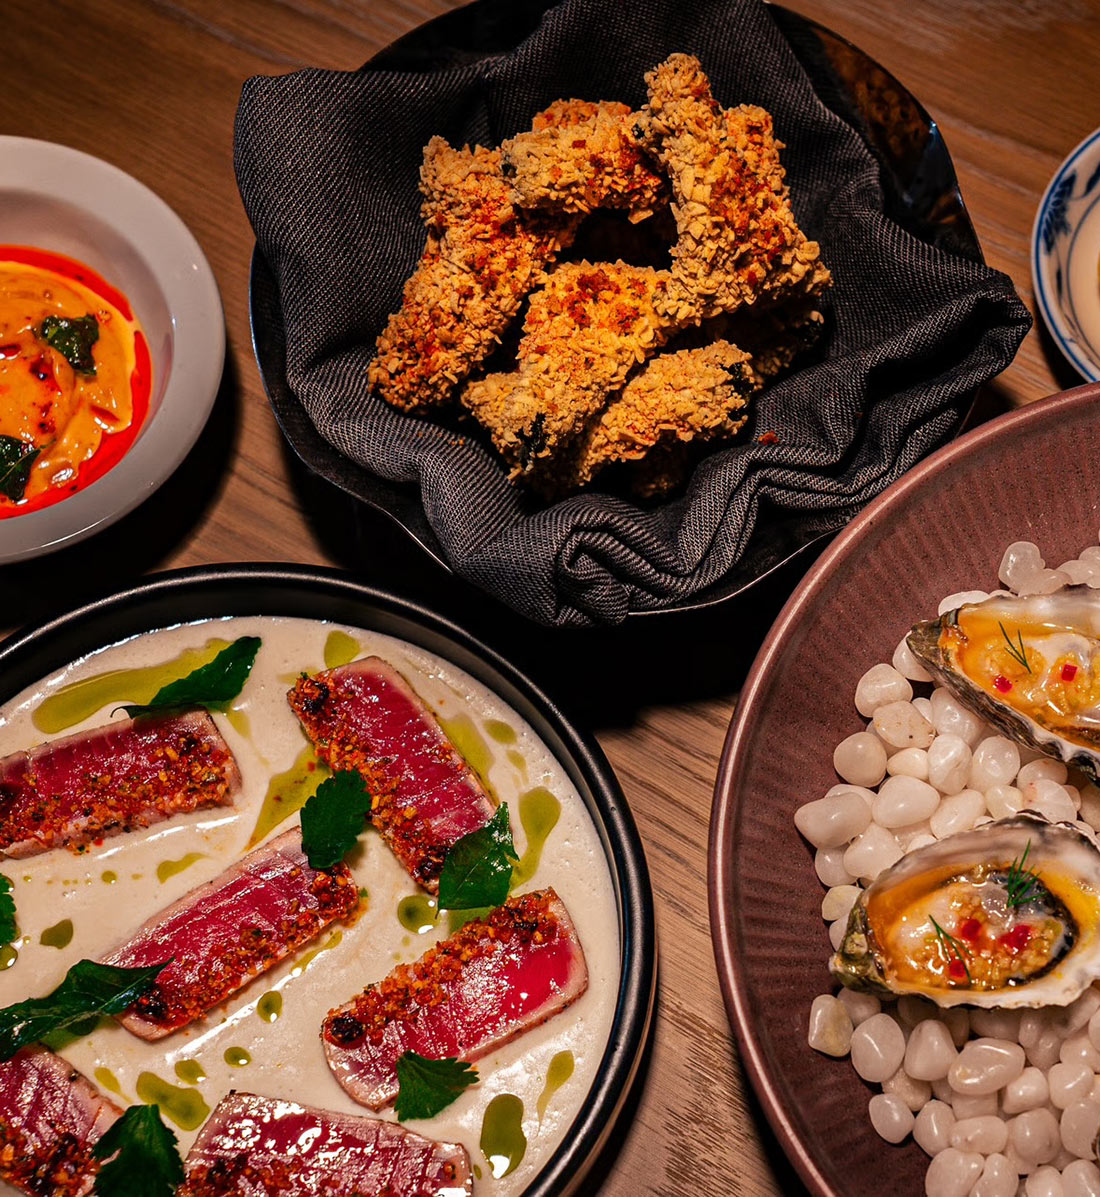
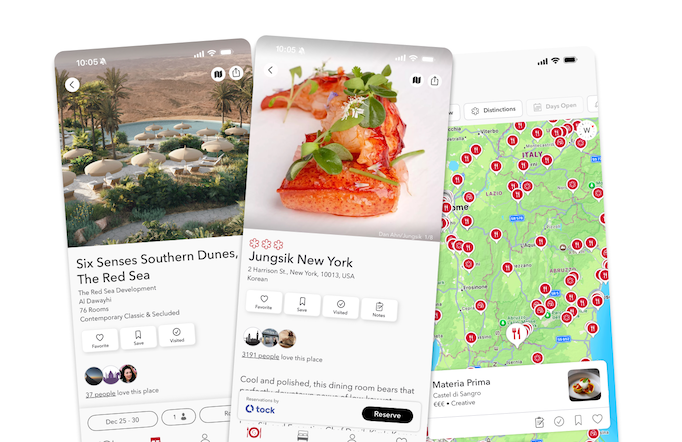
Going out to dinner is one of life's greatest pleasures. Dining at a MICHELIN Guide spot ups the ante on the typical experience. And thanks to social media, all of us are equipped to share our take on where we go with our friends, family, and the internet. But what makes for compelling imagery when we're seated? Overhead? Detail shots? What about lighting?
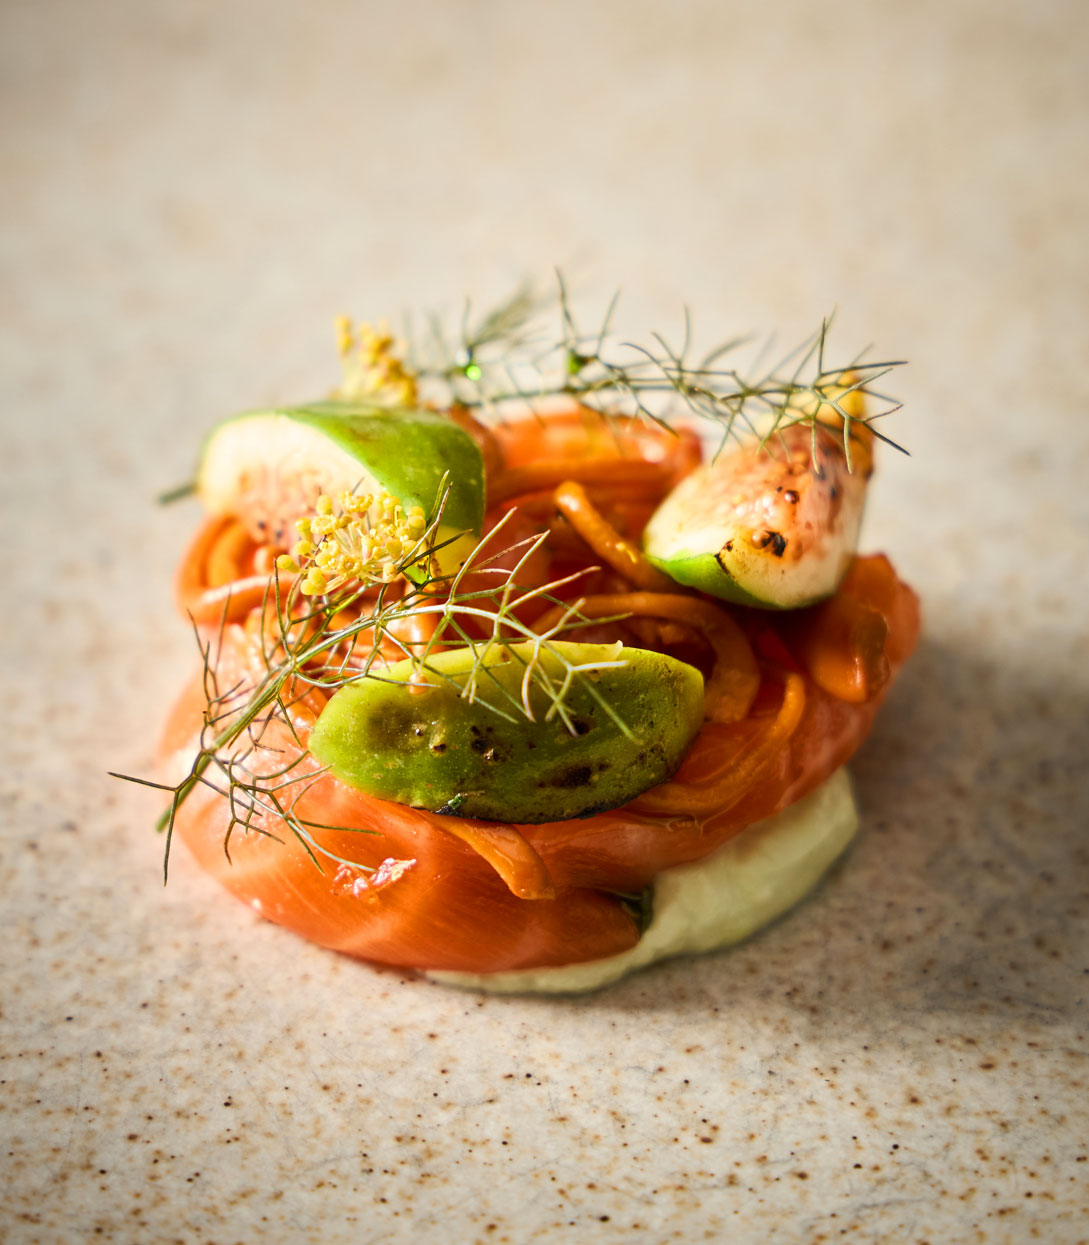
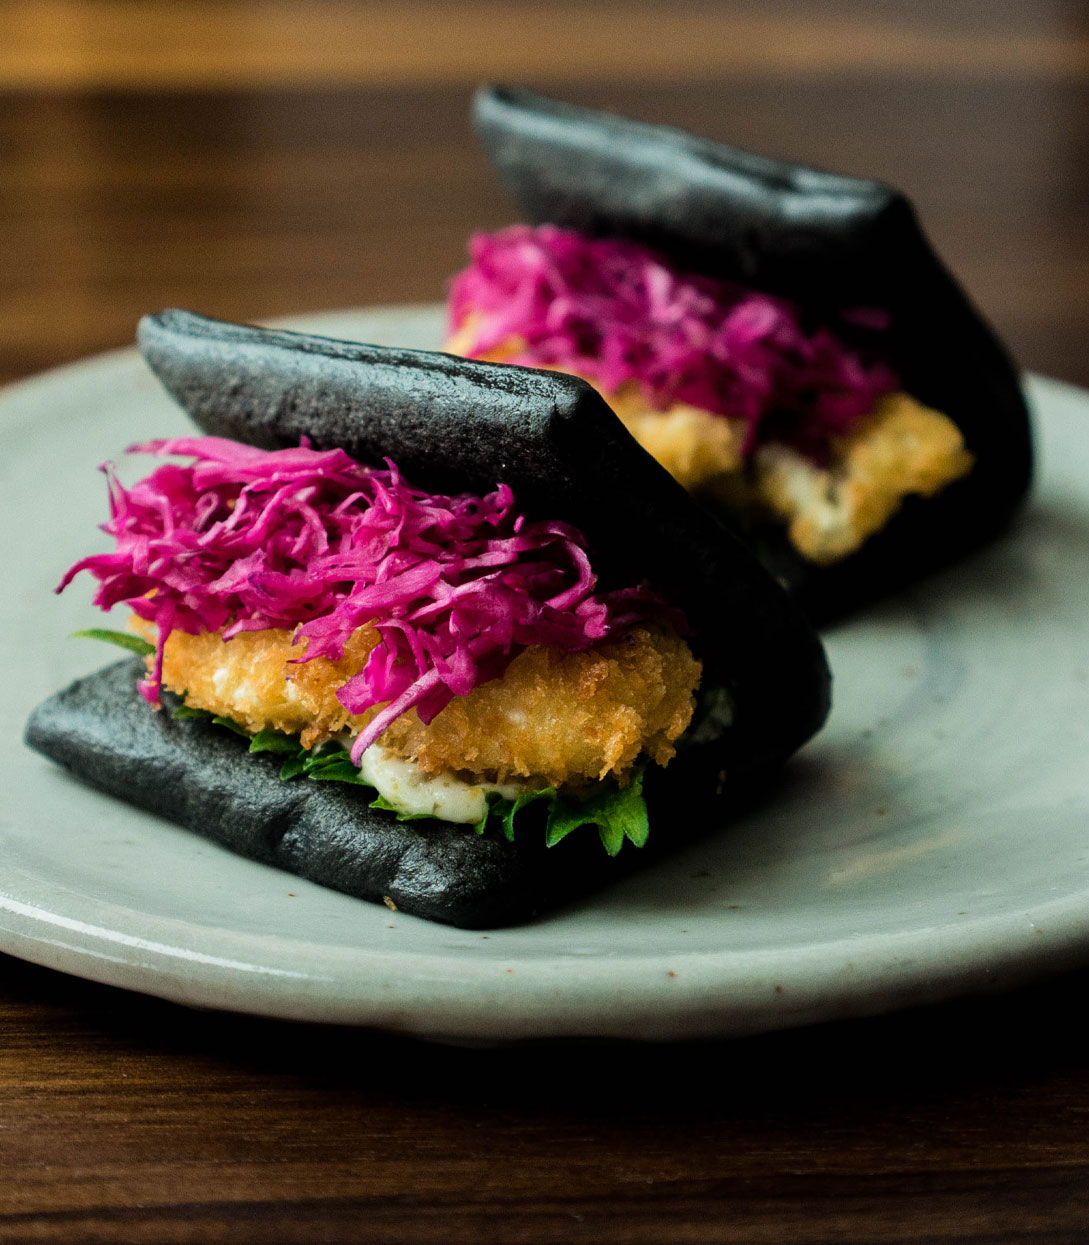
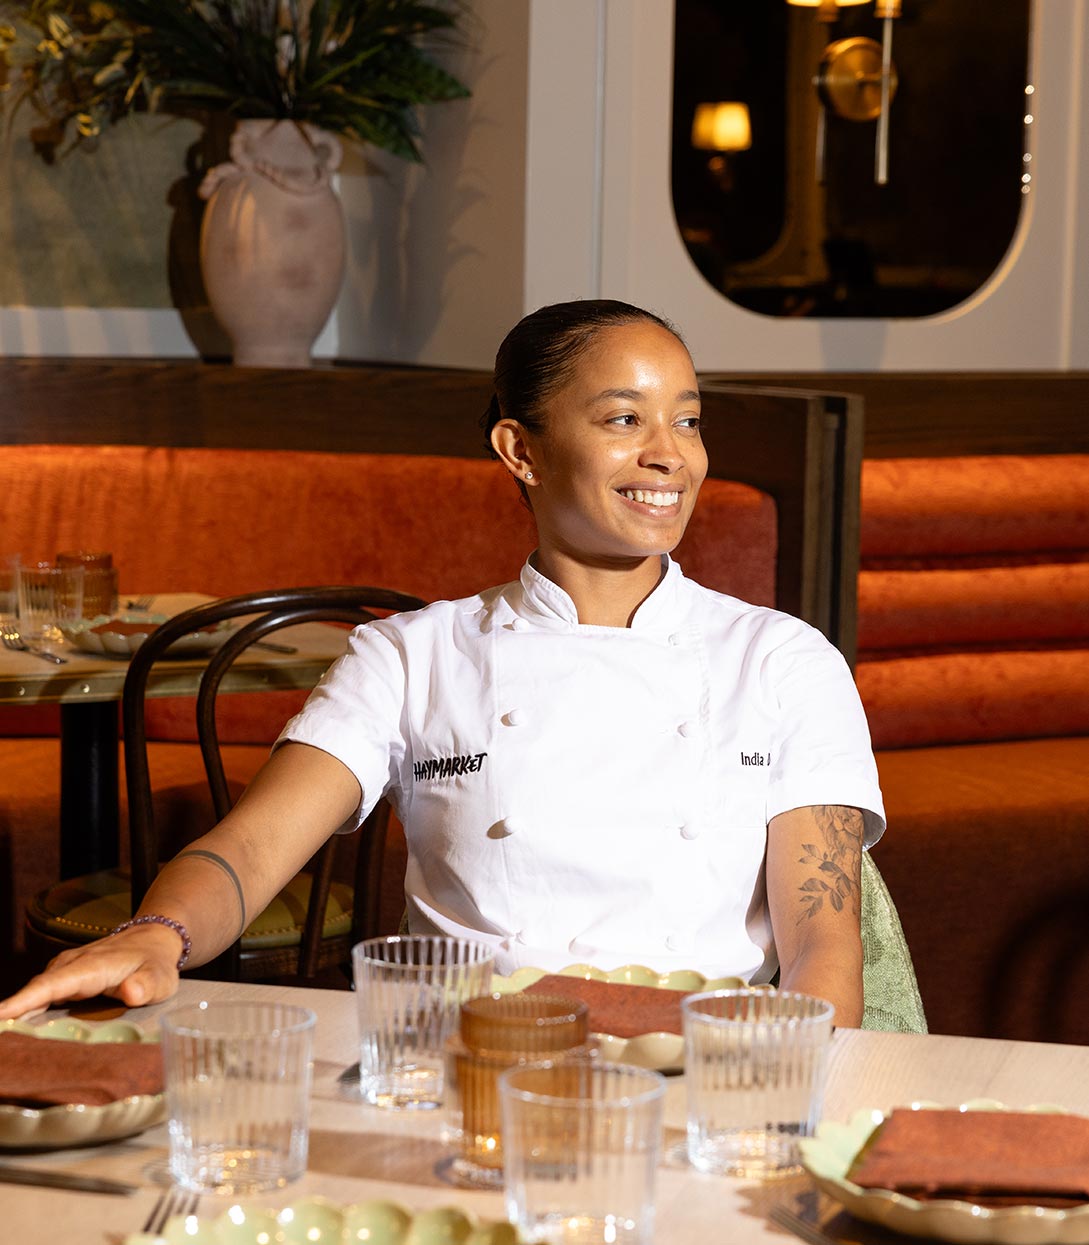
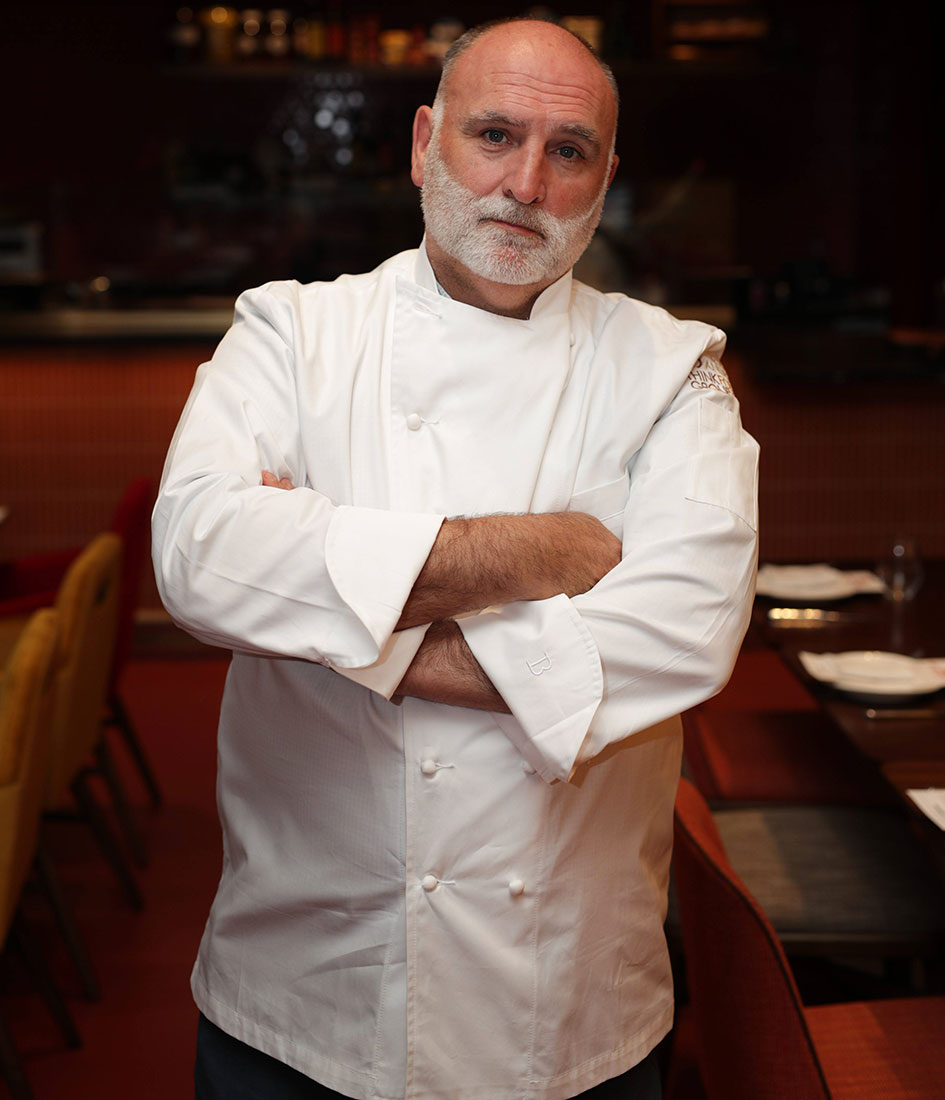
Well earlier this week chefs Camari Mick and Mary Attea of One MICHELIN Star The Musket Room and Raf's went to the Delish test kitchen along with some food-centric content creators (including MICHELIN Guide recommended Bonnie's chef Calvin Eng) to get the low down on how to use the Apple iPhone 14 Pro and Pro Max phones to snap the perfect shot. And before you get to the tips, yes, the photos below will make you hungry.
Lens Matters:
iPhone 14 Pro and iPhone 14 Pro Max have three rear cameras (Ultra Wide - 0.5x (13mm), Main - 1x (24mm), Telephoto - 2x (48mm), Telephoto - 3x (77mm), including the first-ever 48MP Main camera.
- Portrait mode: create wonderful depth around your plates for a professional studio look; control the intensity of the bokeh (or background blur) and Portrait Lighting effects by tapping the Depth Control button and dragging the slider left or right. Night mode automatically activates when the camera detects very low-light situations.
- Macro (Ultra Wide): place the primary point of focus near the center of the frame—that’s where the sharpest focus is—and you can get as close as 2 centimeters.
Let there be light:
For darker spots, increase the exposure to brighten your shot by tapping on the screen and pulling up the sun icon with your finger. Steady lighting leads to optimal visual results and if you are in a lower light environment, it’s best to use the Main camera as it has the largest sensor and best light gathering capabilities.

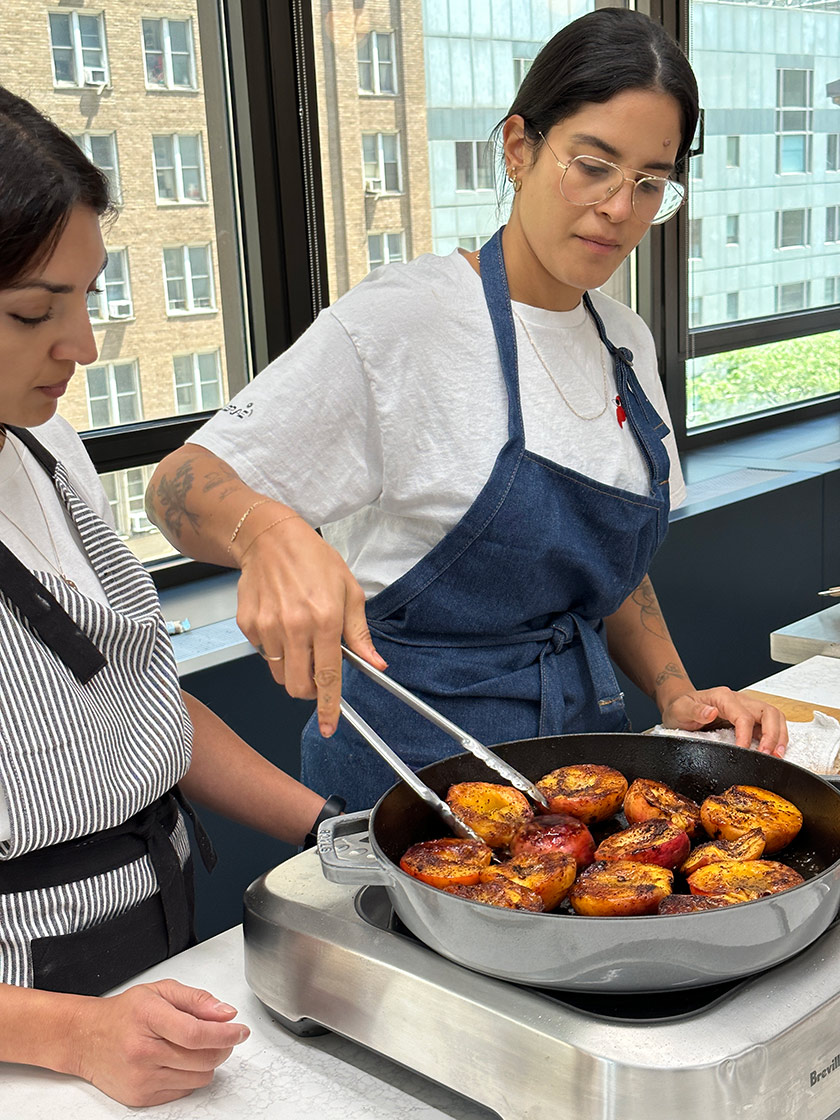


Hero image: Chef Mary Attea (Lucy Schaeffer, shot on iPhone 14 Pro)


